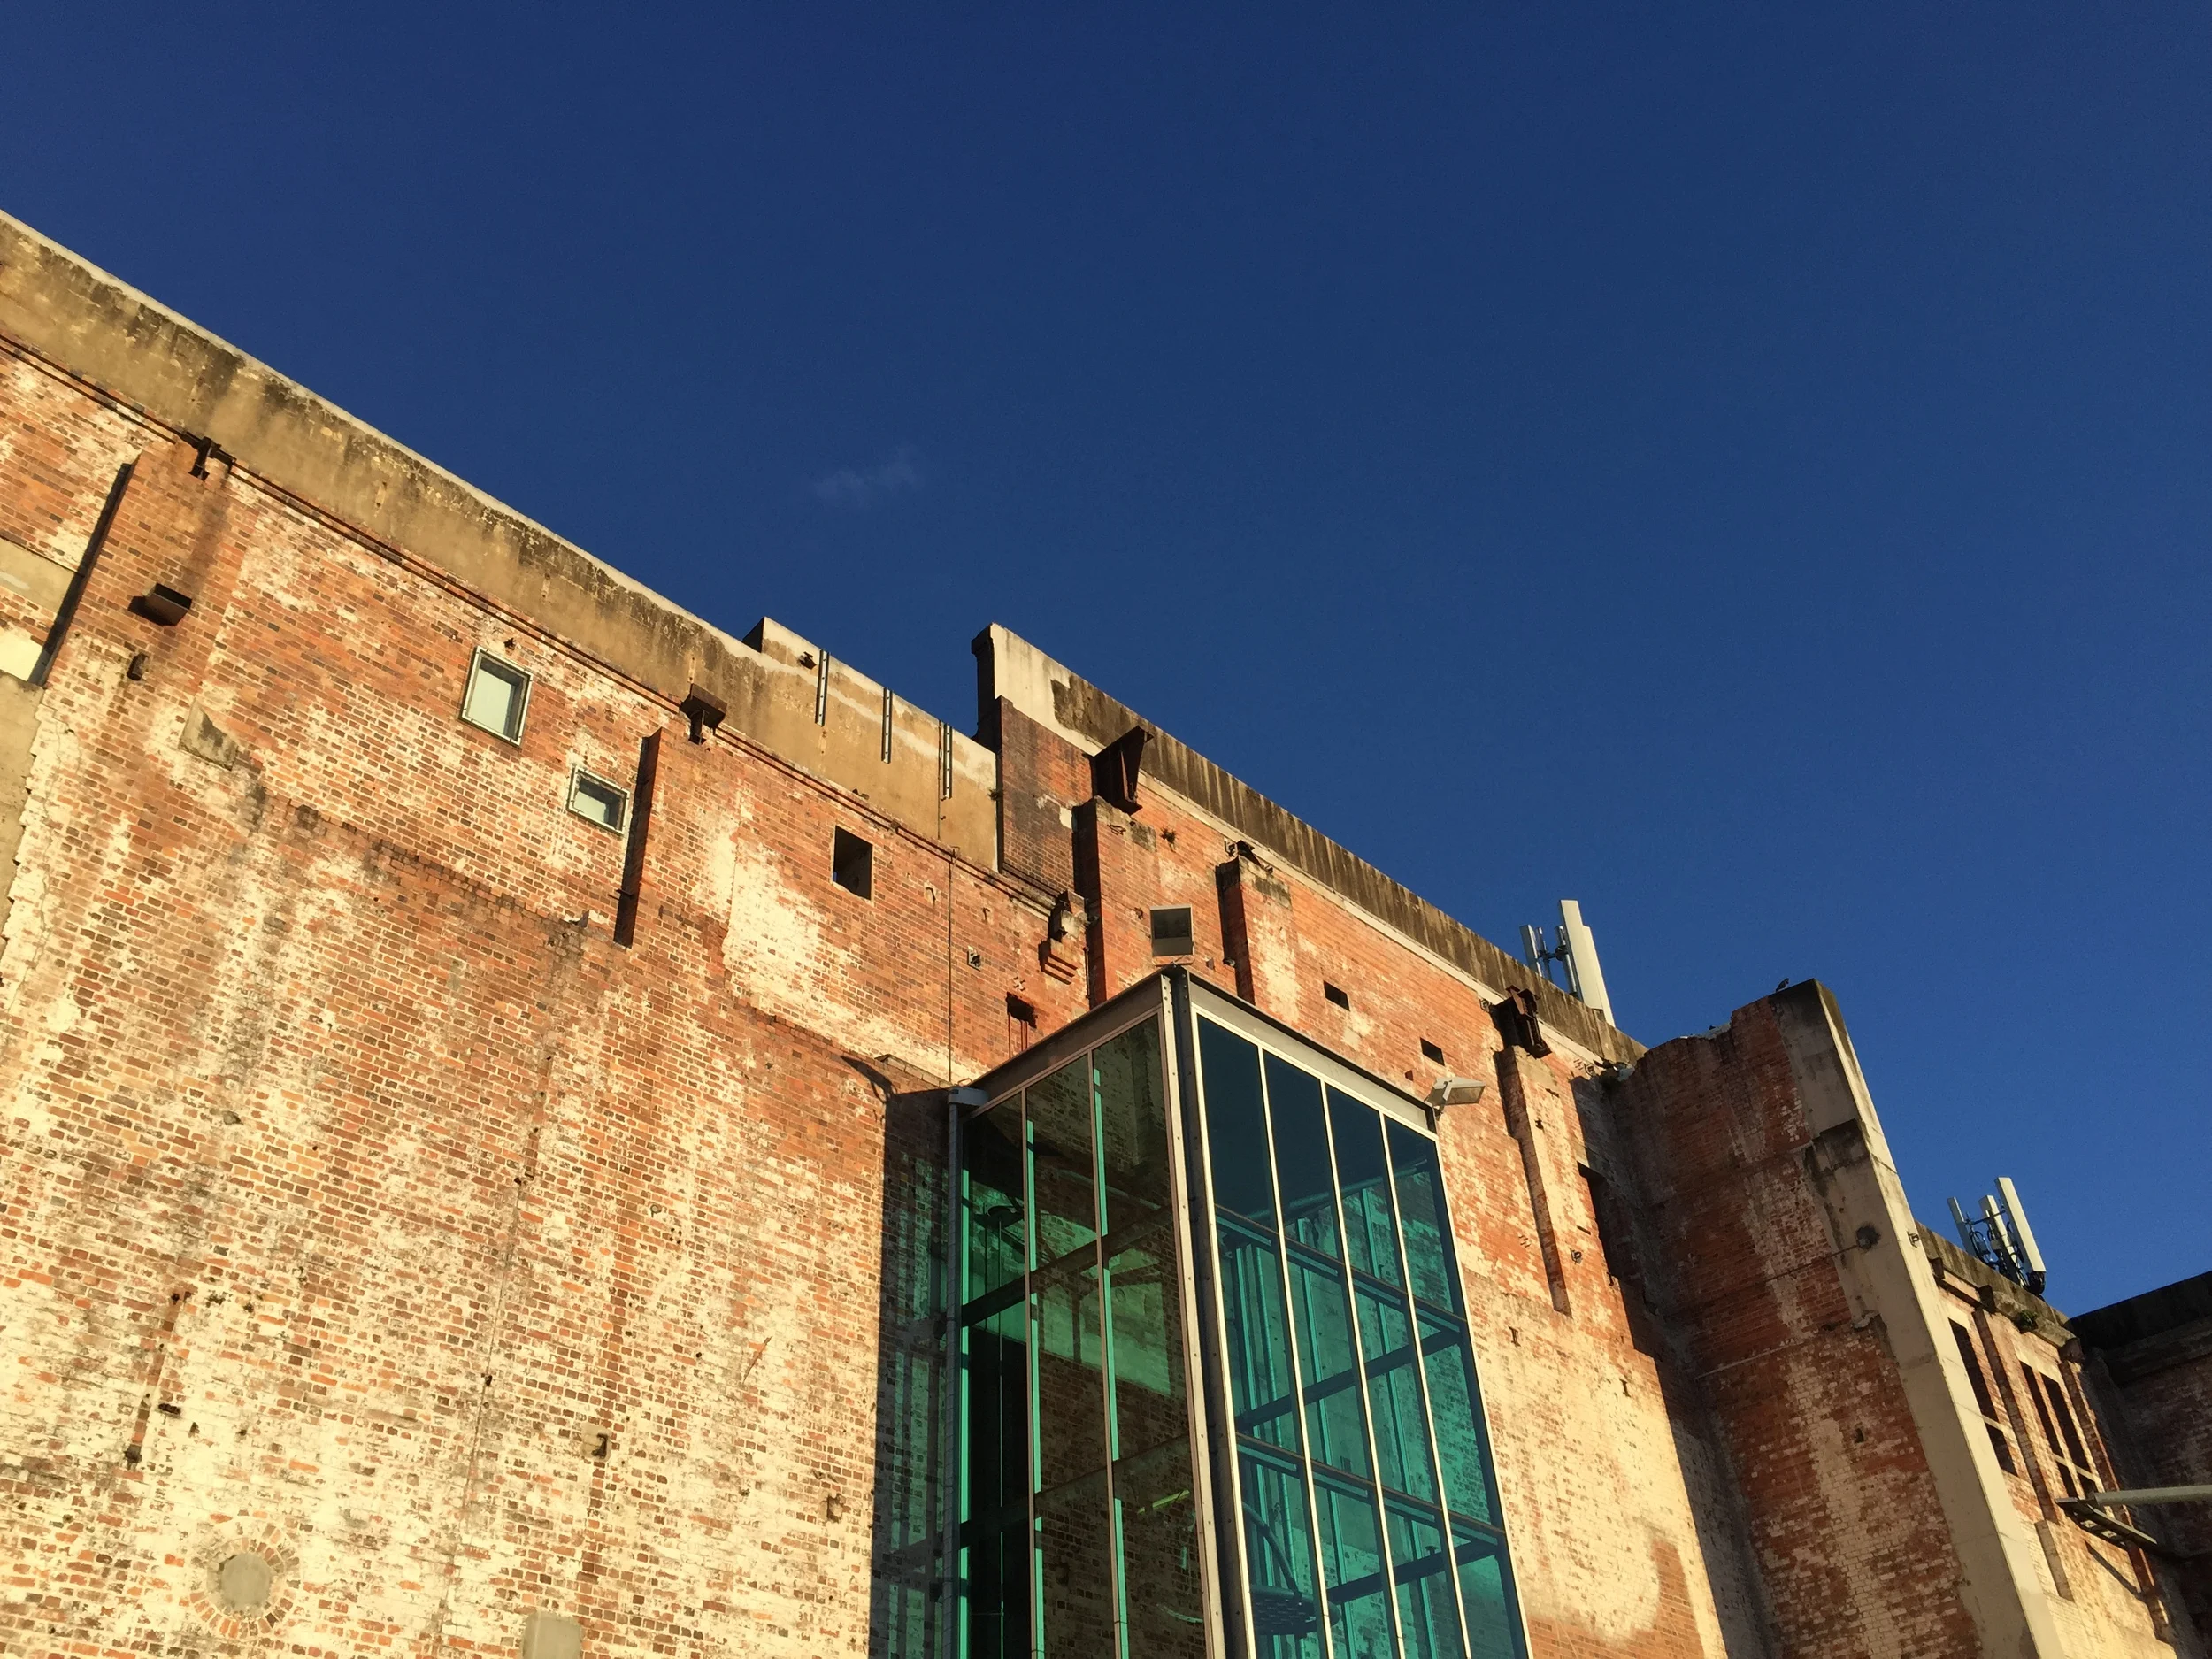
The IRL Festival project is finally finished! it displayed at the Powerhouse in Brisbane, to hundreds of players across ten days, check out the photos of the installation, and the finished interactive story!
This is a virtual tour of my exhibition project, currently in development for the IRL Festival, a merging of interactive art and narrative, running in May of 2015.
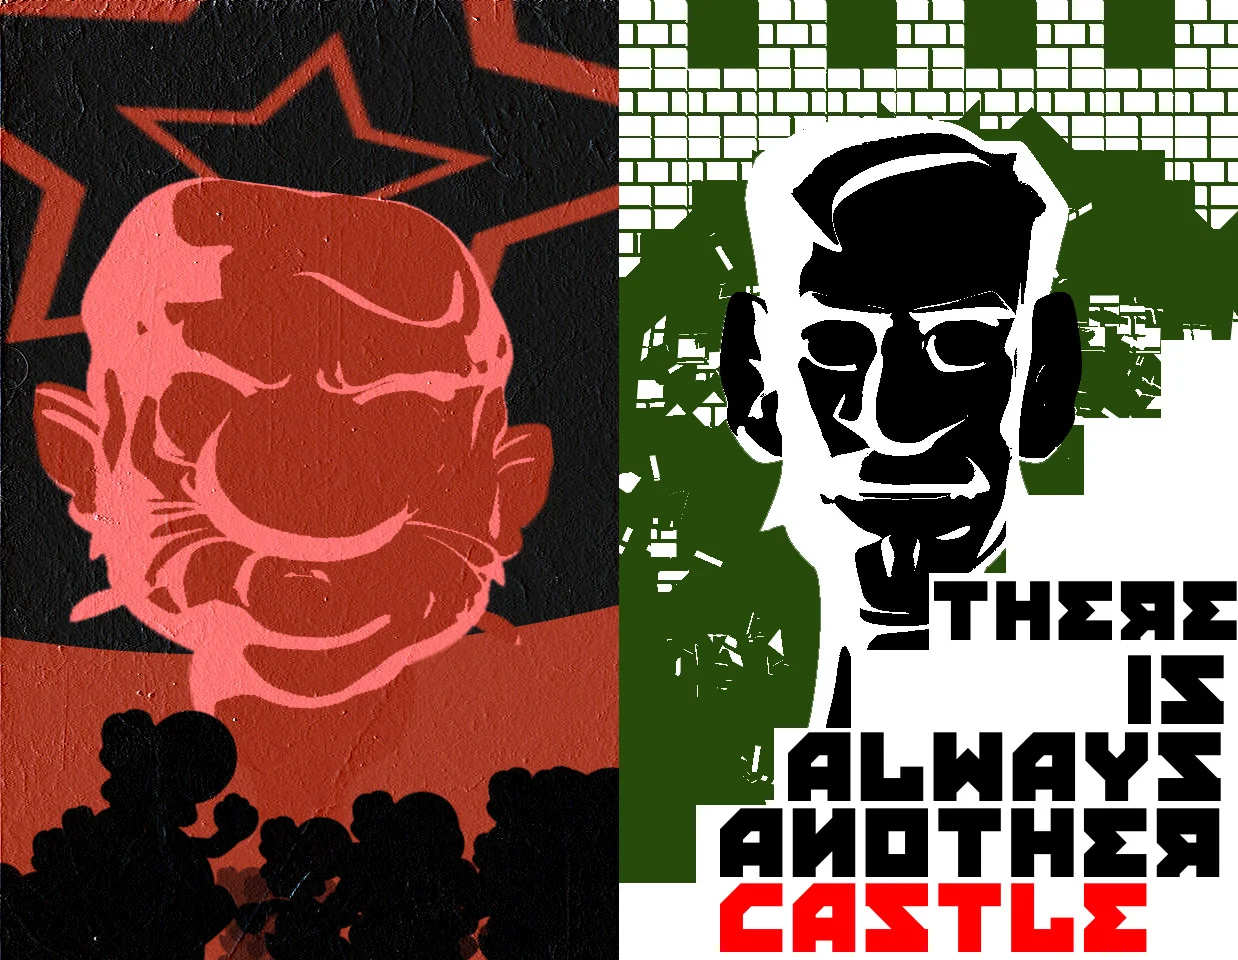
I am incorporating, and working on collaborating with Dennis Flath, the creator of the 'Mad Mario' series of characters, herein used as source elements for the character heads in the banners.
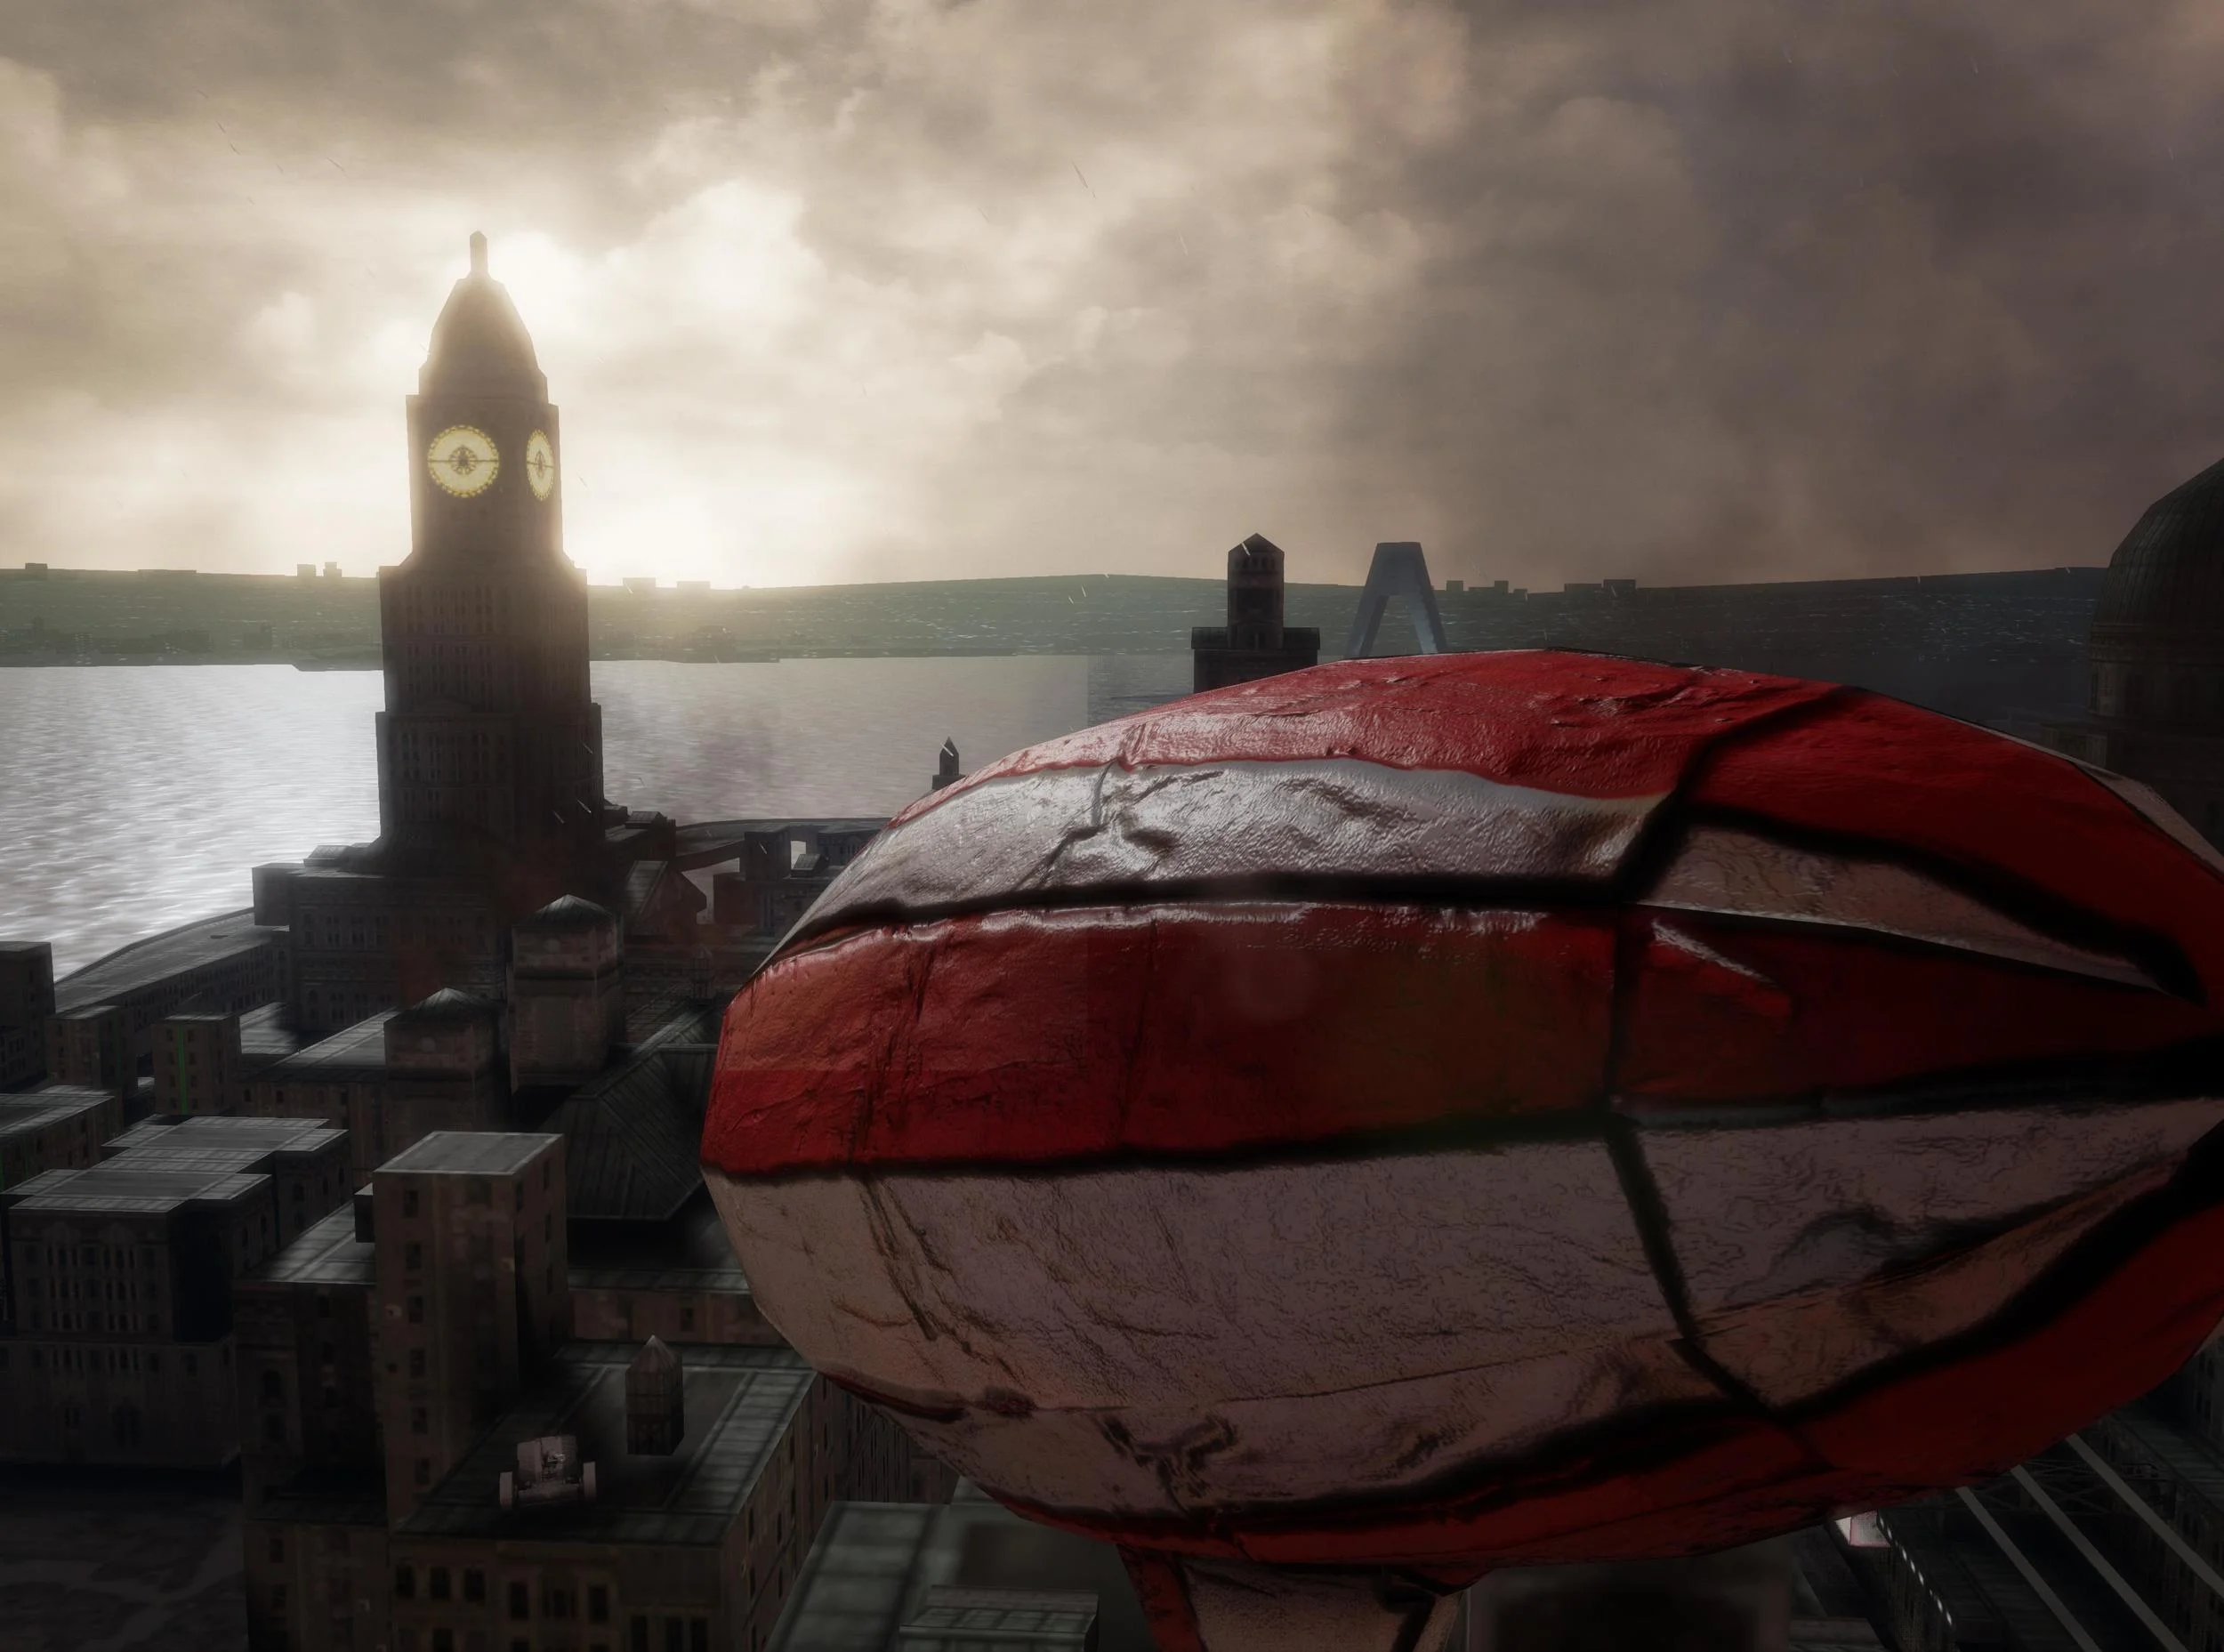
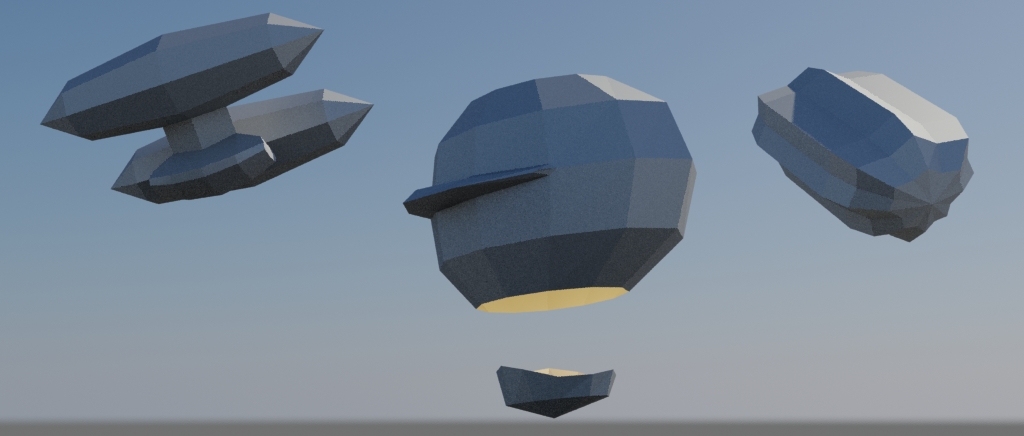
The development of the Pepakura Blimps, a round trip from 3d-to real world hand crated art, back into a Game Engine!
I decided to design some Steampunk Blmps for a friend's birthday party, from Digital to Analog!
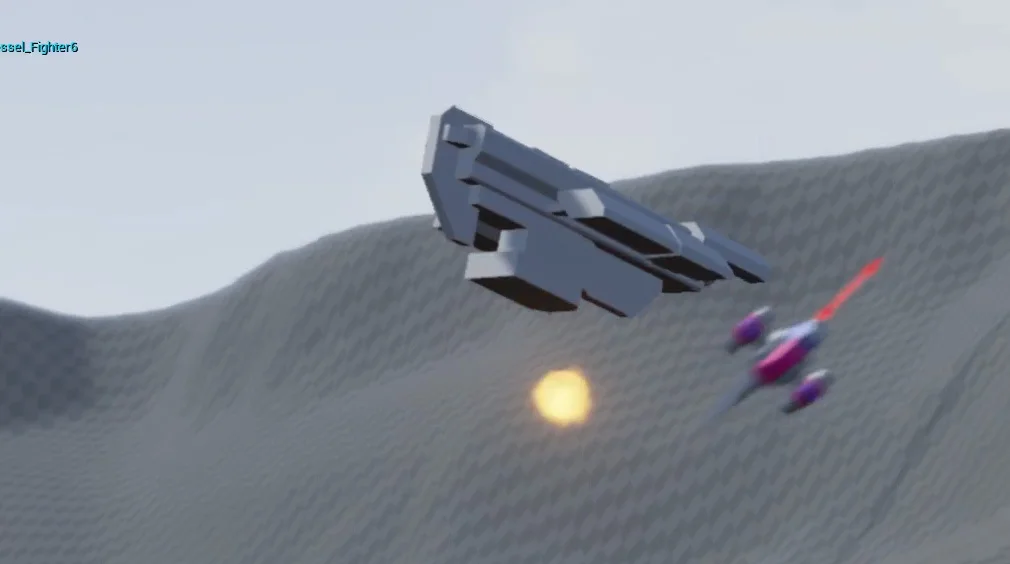
Quick update on things, a few project on the boil at the moment, but the background percolator is a Battle Cinulator, a system by which large scale battles can be played out, directected and viewed as a real-time cinematic, which can then be taken control of, and played directly as a participant in the battle.
VIds coming soon, but what i have so far could be very interesting...
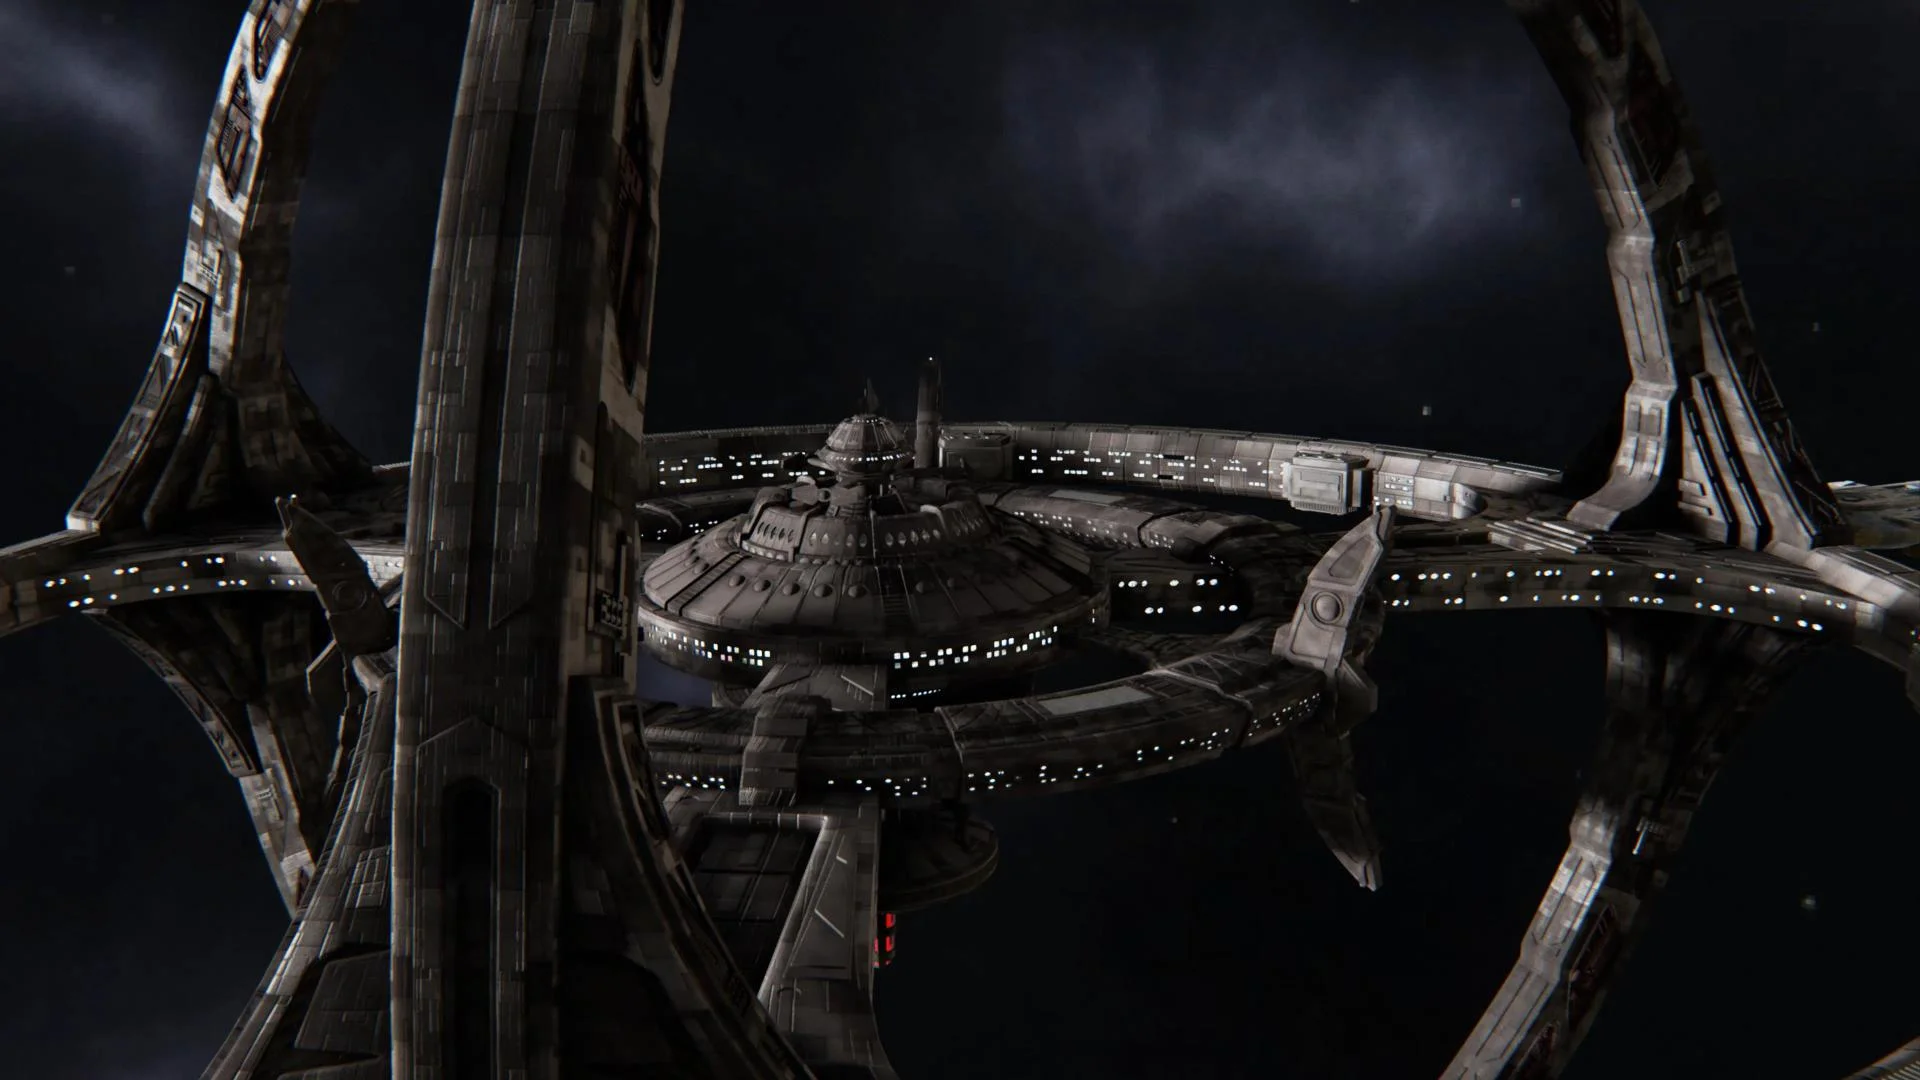
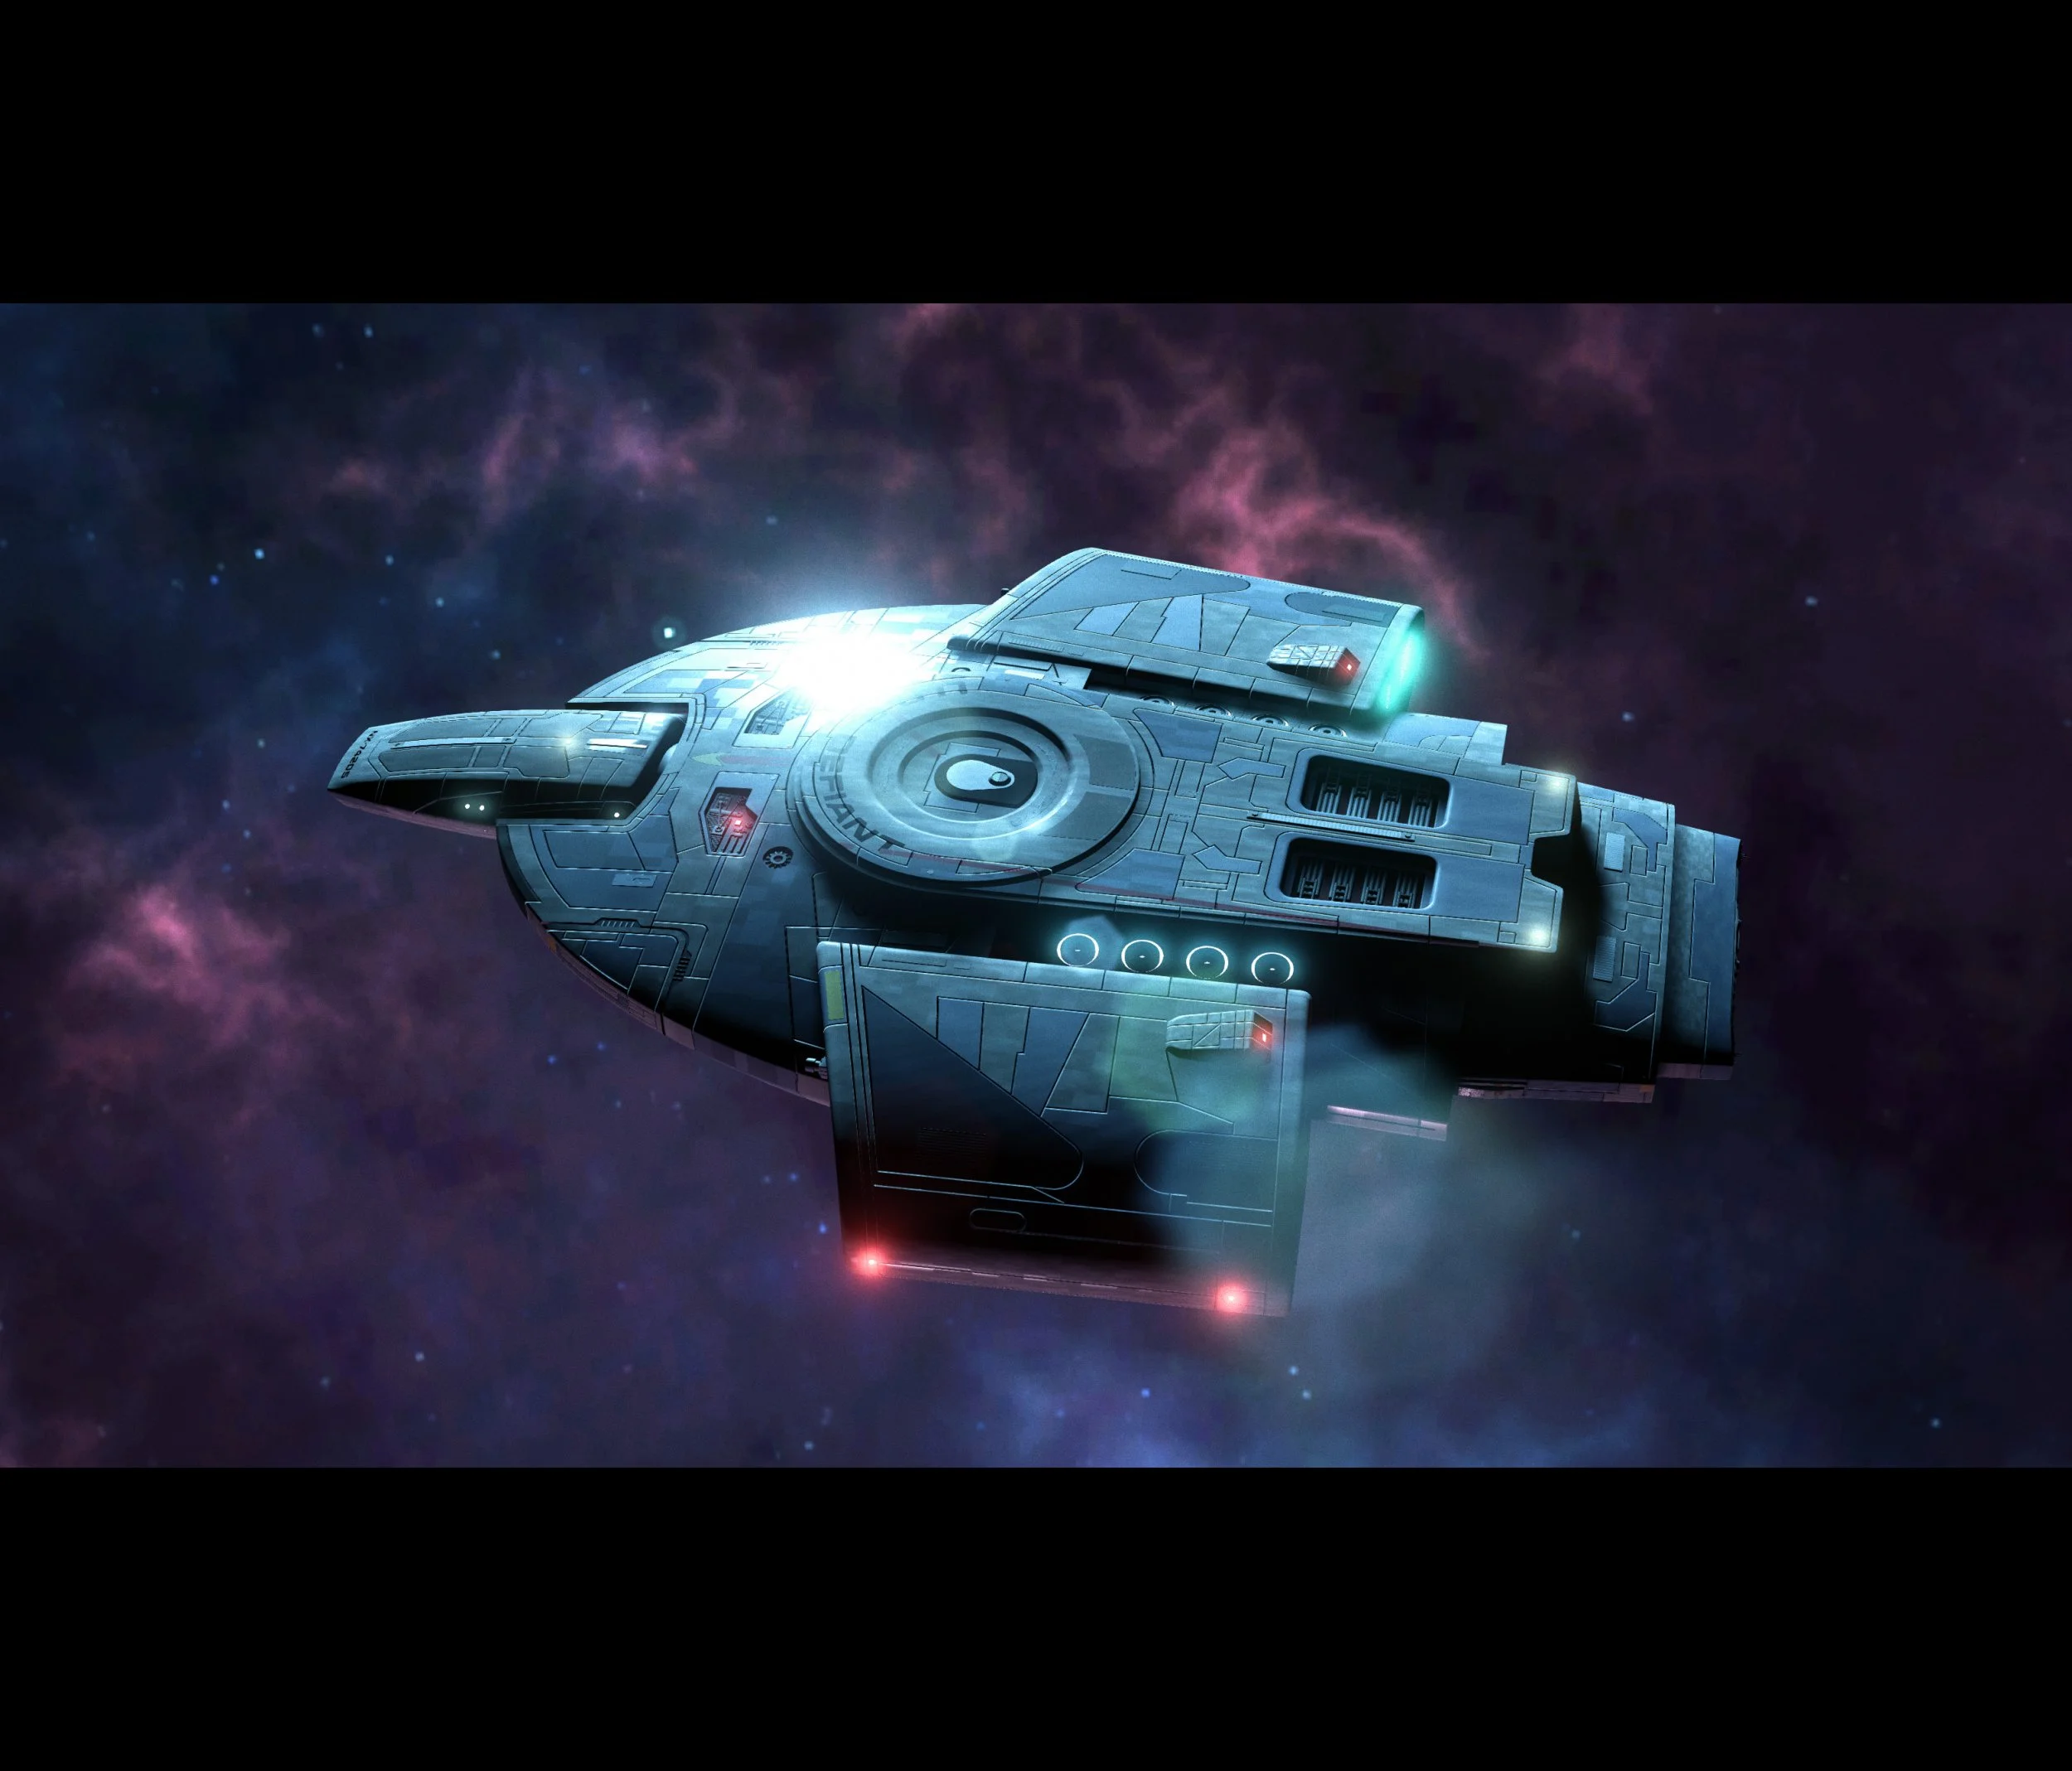
So this is a first pass WIP of my DS9 Credits re-creation, in real-time, in UE4.
This is a little old in terms of VFX and control of lighting, look, etc.. the flares are bloomed out and nasty, and i think YT compression hammered it pretty hard, as i rendered it out at 4K and it squished it down, at any rate, it shows promise!
Watch the hprribly compressed video below these much nicer screenshots!
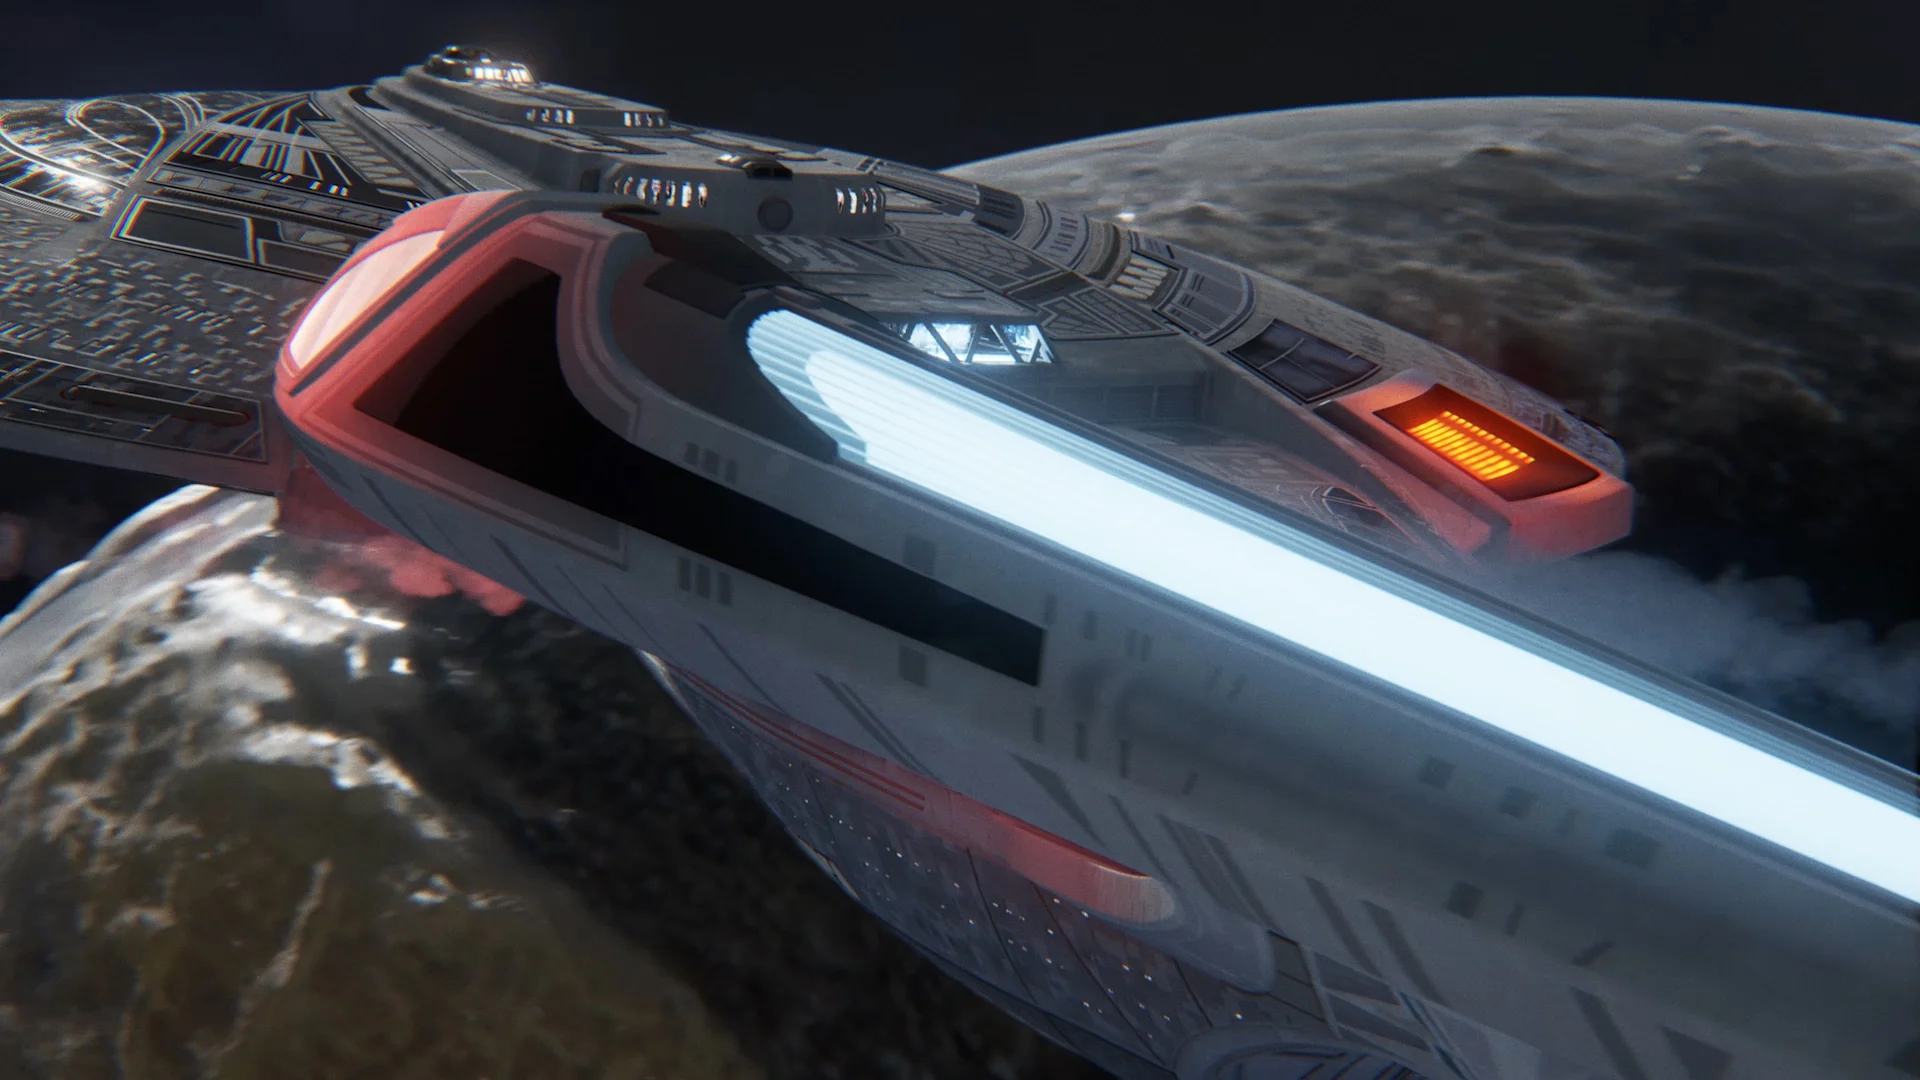
So in between developing my Redneck Carnival game, and several others projects, and work, i went back to the same thing i have been doing since i was 14: making Starships go BOOM.
Below see a vfx test inspired by IRML, which i took as a challenge to match the visual fidelity of pre-rendered space FX against what the Unreal Engine was capable of.
I think i got pretty close, and it's all a work in progress for something... a touch more ahem.. interactive which is taking shape VERY nicely.
Stay tuned if you like what you see.
Hey all, I've been noodling without much direction, and thought i would share some recent RnD I've been knocking up, using the new Unreal Engine 4.
I've converted Skye Dodds beautiful Defiant model for use in the engine, it took a little while, leveraging material functions and nested material layers to try and replicate the specific shader setup he used in Max all those MANY years ago, i'm honestly shocked at how well his/her work holds up to this day, so full credit to their diligence and hard work back then, for all of us to enjoy and leverage with such recent technology.
Here are a few screenshots, i'll explain a little of the process below.
I've uploaded a quick WIP video of the effect so far, still working on it!
So the model originally used a series of nested blend materials in Max, with masks used to separate the different hull colours, and the hull itself used a procedural noise to create the subtle variations on the hull plating.
This required the used of material layers within UE, wherein you create a Material Function, essentially a material, with the added ability to be used within a standard material as an element, as well as exposing parameters for tweaking, as well as real-time adjustments (emissive glow levels, even mapping coordinates, etc.. pretty much anything representable as either a replacable asset, scalar, or vector parameter, etc..)
here is a screenshot of said 'Master' material.
I realise it's kinda hard to read, but you can see a linear branch of little material functions plugging in to the final output, with each relevant source texture or layer mask exposed as a parameter (with a default placeholder).
this means that this single material can be used across all the parts of the model that use this style of hull shader, with each respective layer mask replaced independently, you can see that the registry overlays are plugged in after each hull material, to ensure correct blending (although given i didnt use any special blending modes between the material layers there would be little likelihood of that, but i worked it from bottom to top anyway to avoid any issues.)
The material functions for each hull layer were very simple, i first baked out the noise map originally used for the hull to a texture, and used the texture coordinate node's scale parameter to get the size right (turns out the mapping on the original model was object XYZ rather than UV so i had to tweak it in the engine to get it close.)
i then blended this with the colour of the hull plating with an overlay node, as well as a quick tweak to the contrast to flatten out the noise, as it was originally it gave a harsh effect i wanted to even out.
The normal input on this Material function turned out to be redundant, as i override the normal map in the final Material Instance, as it was parameterised in the master material for easy swapping, as with the rest of the textures.
The material instance is a cut-down copy of the original Master material (the first graph) which allows for very efficient re-use of a shader, limiting modifications to thoe specifically exposed as paramaters, thereby cutting down on the instructions used to calculate the shading and lighting. if you are unfamilliar with the idea of an instance, it's a method used in object-oriented programming to essentially clone something, but with limited paramters exposed for effiicient modification or run-time data input without the need to recalculate an entire function or whatnot.
here is what a Material Instance looks like.
Each of those tick-boxes enable the override for that particular parameter, and as you can see the textures plug in and give the correct appearance on the mesh they are applied to.
you may notice a texture call Black6x6 in there, that is to override the given mask with a value of 0, as that specific surface did not require for example a Grey hull material, or Black Registry overlay. setting this to 0 means it is essentially transparent. this is a side-effect of trying to make the master material all things to all surfaces, and may be wasteful, although i used a very small texture, and since it is referenced only once in memory it should be efficient enough.
Once the materials for each section of the hull were hooked up, i converted the old bump maps (BnW heightmaps) to Normal Maps for use in the engine. Normal maps are used for Pixel shaders, and represent each axis of displacement in a respective colour channel.
After much tweaking and consternation of UV channels (the registry decals were not on consistent uv channels, meaning that my master material required a parameter for that specific mask i could modify to specify the mapping channel for each mask to use, a process i still haven't found a good solution for, the reason why some of the hull markings are missing in the current captures) i decided i'd had enough and needed to finish it, if only so that it didnt sit and gather dust on my hard drive, another unseen half- finished project.
Upon setting up my cameras and tweaking the comps, i leveraged UE's powerful camera post process system to create a more refined look. One really awesome feature i found was the Colour Grading workflow, wherein we export a screenshot from the camera's view, then load a LUT image into that screenshot, apply our adjustement layers, then save that Lut out for use inthe engine, wherein it maps the given colours and luminescence back onto the scene as a post process, eliminating much of the need to tweaking in post.
So i'll be working on a quick animation with this scene , i'll post updates when they happen, and get some proof of concept happening with this method of using a game engine to render high-quality scenes, rather than spending hours on render farms (if one is so fortunate) and spend that time on creating compelling artwork.
crits and feeback welcome, if people are interested i am happy to provide more information, or hear better methods etc..
Peace!
-Craig
I created a little script for 3ds max to facilitate Camera Animation export to Unreal Engine 4 Matinee. You can (hopefully) download it here.
Installation: extract the archive to your Root 3ds max directory, it places the required files in the MacroScripts folder. It's very simple, just add the item to your toolbar/quad menu, under 'WeevilTools'. When you run it, you can pick your desired camera from the scene, then hit the Create button to prepare a pre-baked clone of the camera ready for export, with the UE4_Baked suffix, ready to export via FBX to matinee.
Testing out Bulb Ramping a sunset time-lapse. Pretty happy with the results, could have picked a better vantage, and it blooms out toward the end so my timing could be better, but the practical lessons doing this will mean it will really be worth it when I find the perfect spot.
The lapse plays through a couple of times.